













This article explains how to enable Happy Returns as a carrier so US customers can drop returns at a Return Bar without a box or a label.
Before you start
- A US store location. The integration requires a United States address on your store, and covers US domestic returns only.
- Happy Returns credentials. You need your Happy Returns API key and retailer ID. These come from your Happy Returns account — Happy Returns publishes its own retailer documentation at Happy Returns Retailer Support.
- Webhook permissions. Check with your Happy Returns contact that your account can enable the
return.asnandreturn.auditwebhooks. Without them, tracking and quality control updates will not reach Swap. - Account merging, if relevant. To merge an existing Happy Returns account with Swap's Happy Returns master account, contact both your Swap Account Manager and your Happy Returns representative.
Step 1: Ask Swap to enable the carrier
Once your store has a US location, contact your Swap Account Manager to enable Happy Returns as a carrier. If you are using your own Happy Returns account rather than Swap's, give them your API key and retailer ID at this point.
This step is not self-serve.
Step 2: Assign your US address
Once enabled, the carrier appears in your dashboard.
- Go to Returns → Shipping
- Find Happy Returns and open its settings
- Select the US address to associate with the carrier
Step 3: Connect the integration
Connecting the integration is what switches on the automated tracking and quality control updates.
- Go to Returns → Integrations
- Find Happy Returns in the Apps panel and click Connect
- Review what the integration does in the dialog
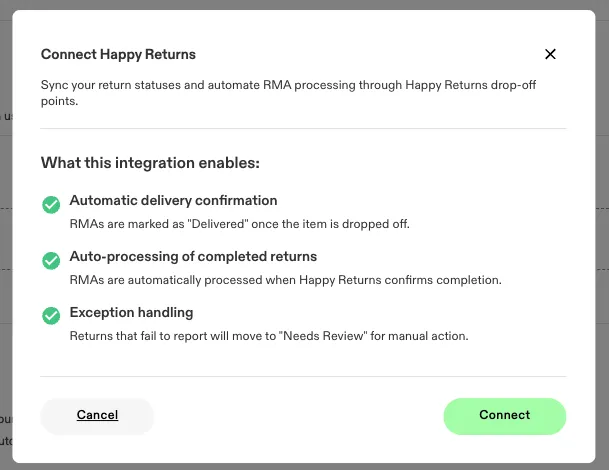
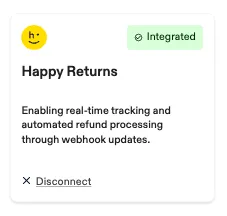
- Click Connect to finish. The status changes to Integrated
What your customers see
Happy Returns is not offered on every return. Swap checks eligibility before the return method page appears, on two criteria:
- Distance. The customer needs Return Bar locations near their postcode. The three closest are shown with their opening hours, the first two visible and the rest behind a more control. Clicking the distance opens the location in Google Maps.
- Value. Returns above $500 retail value are not eligible. Happy Returns is hidden entirely for these rather than shown as unavailable, so a customer returning a high-value item simply sees your other carriers.
Where a customer is eligible, Happy Returns is shown first and pre-selected. This is a requirement of the partnership rather than a setting, so it cannot be reordered.
Naming Return Bar locations in your own content
If you reference Happy Returns anywhere in your portal copy, emails or marketing, the partnership terms require you to use Return Bar locations or Happy Returns locations. Naming or showing the logos of individual host retailers, such as Staples or FedEx, is not permitted.
What happens after a customer drops off
- Drop-off. The moment the item is scanned at a Return Bar, Swap marks the return as Delivered and adds a note to the RMA.
- Fraud audit. Happy Returns runs a check on the return. While it is pending, the RMA is held and quality control is not triggered yet. A note records the hold.
- Audit outcome. A passed audit releases the return to continue. A failed audit moves the RMA to Needs Review for you to handle manually.
- Completion. Once Happy Returns confirms the return is complete, Swap records the items as sellable, which triggers your configured automatic refund or exchange and restocks the item.
Whether processing happens automatically at step 4 depends on your quality control and RMA processing settings. See Understanding quality control (Returns V2).