














To test Swap Returns, you need to create a test order. This article explains how to create an order for testing purposes.
As the items will be ‘returned’, your stock on Shopify will return to the value pre-testing.
How to Create a Test Order
- Log in to your Shopify store backend
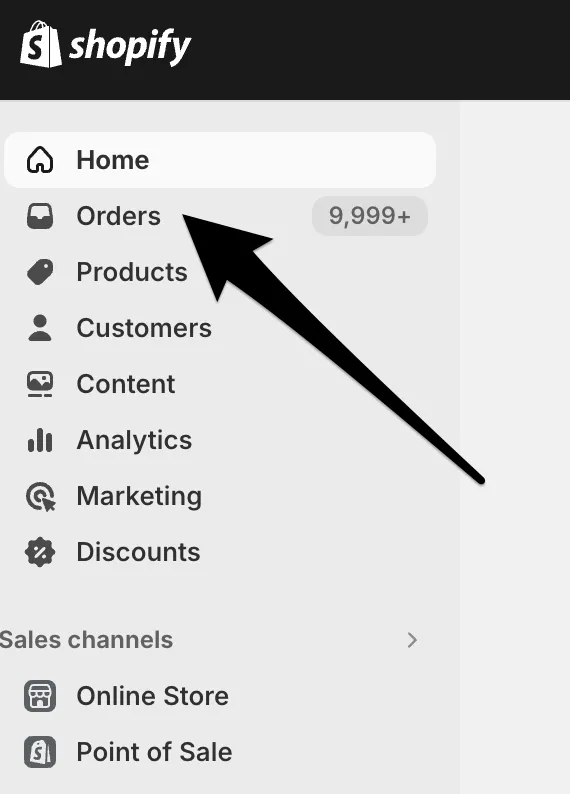
- Click Orders on the left-hand side
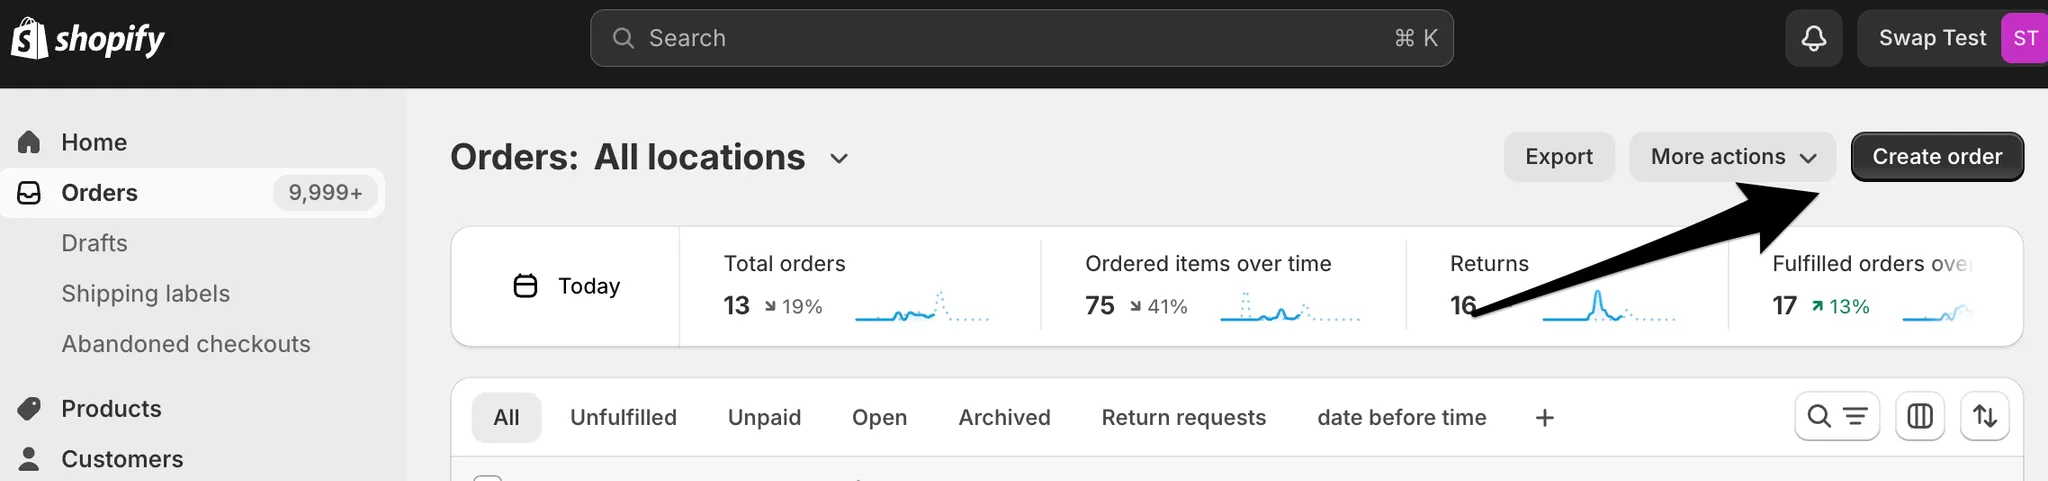
- Click Create an Order in the top right-hand corner.
- Search for or create a customer with your email address to receive the order notifications.
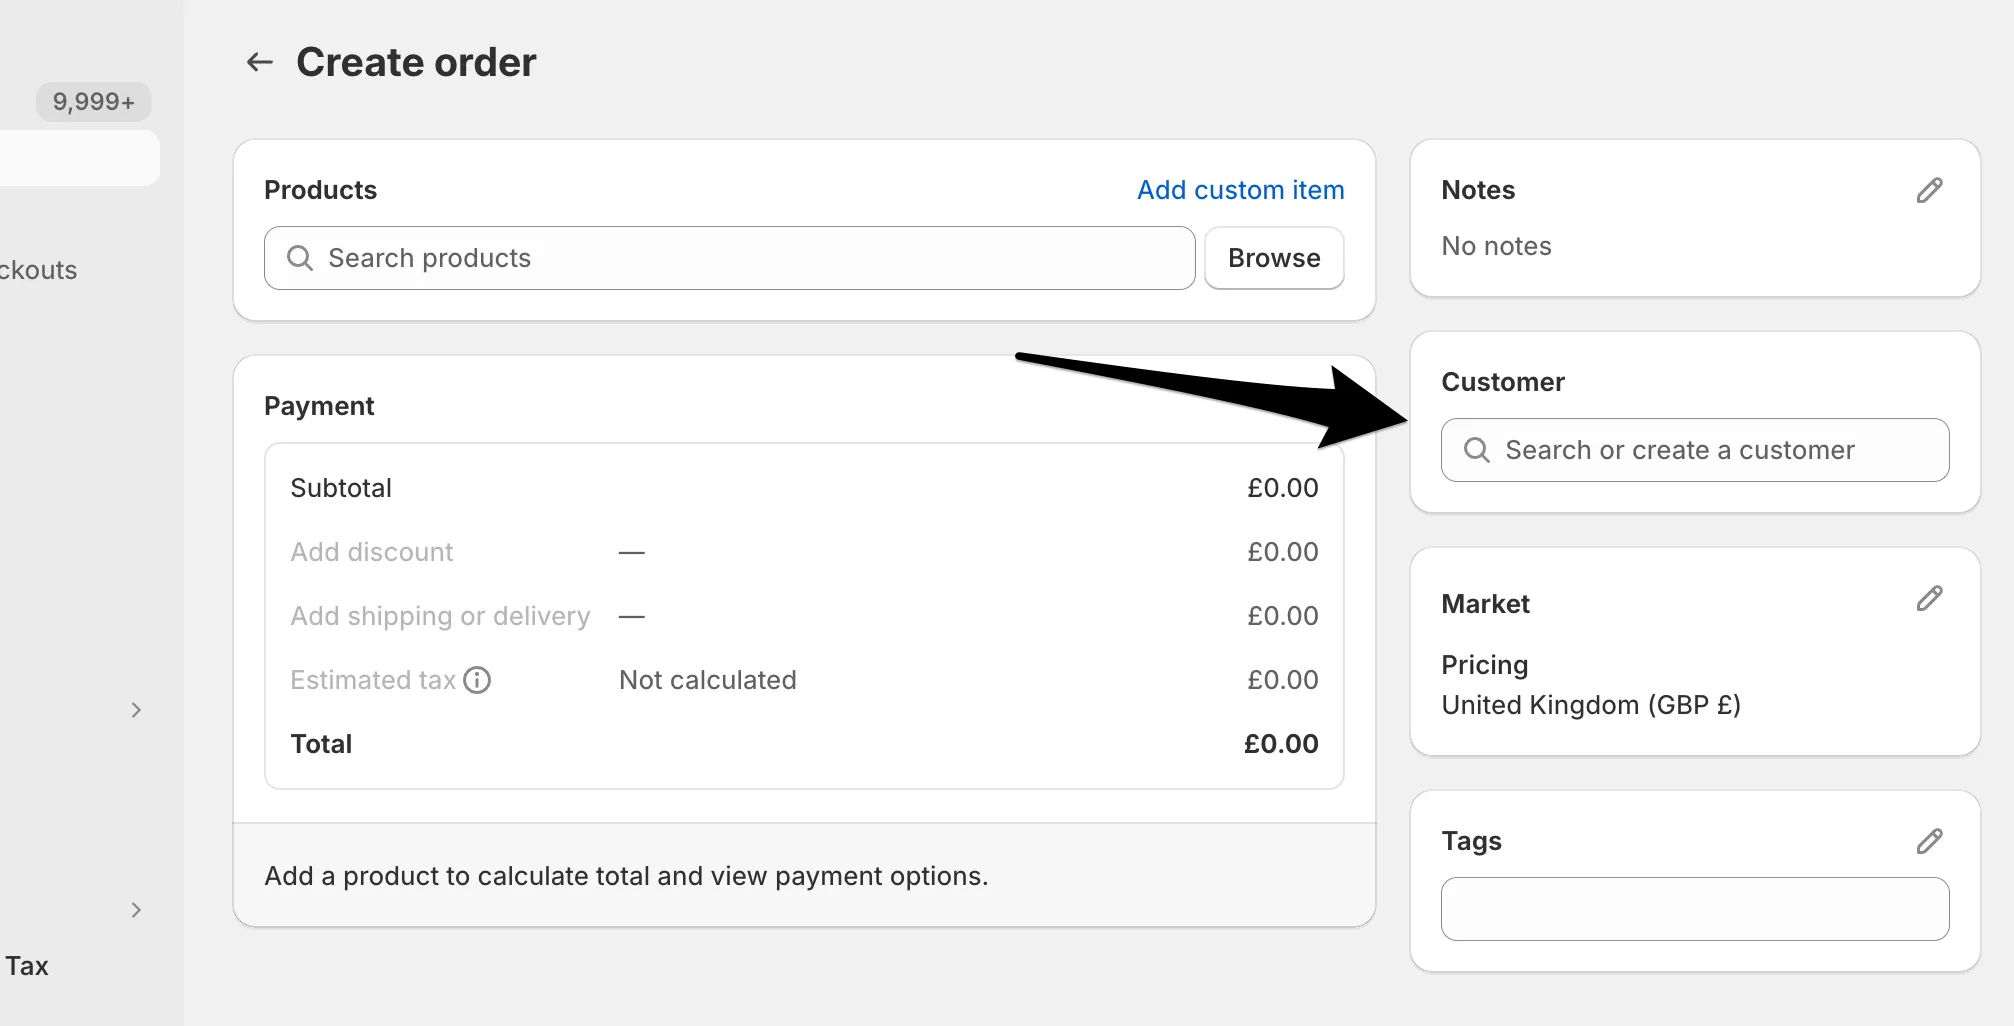
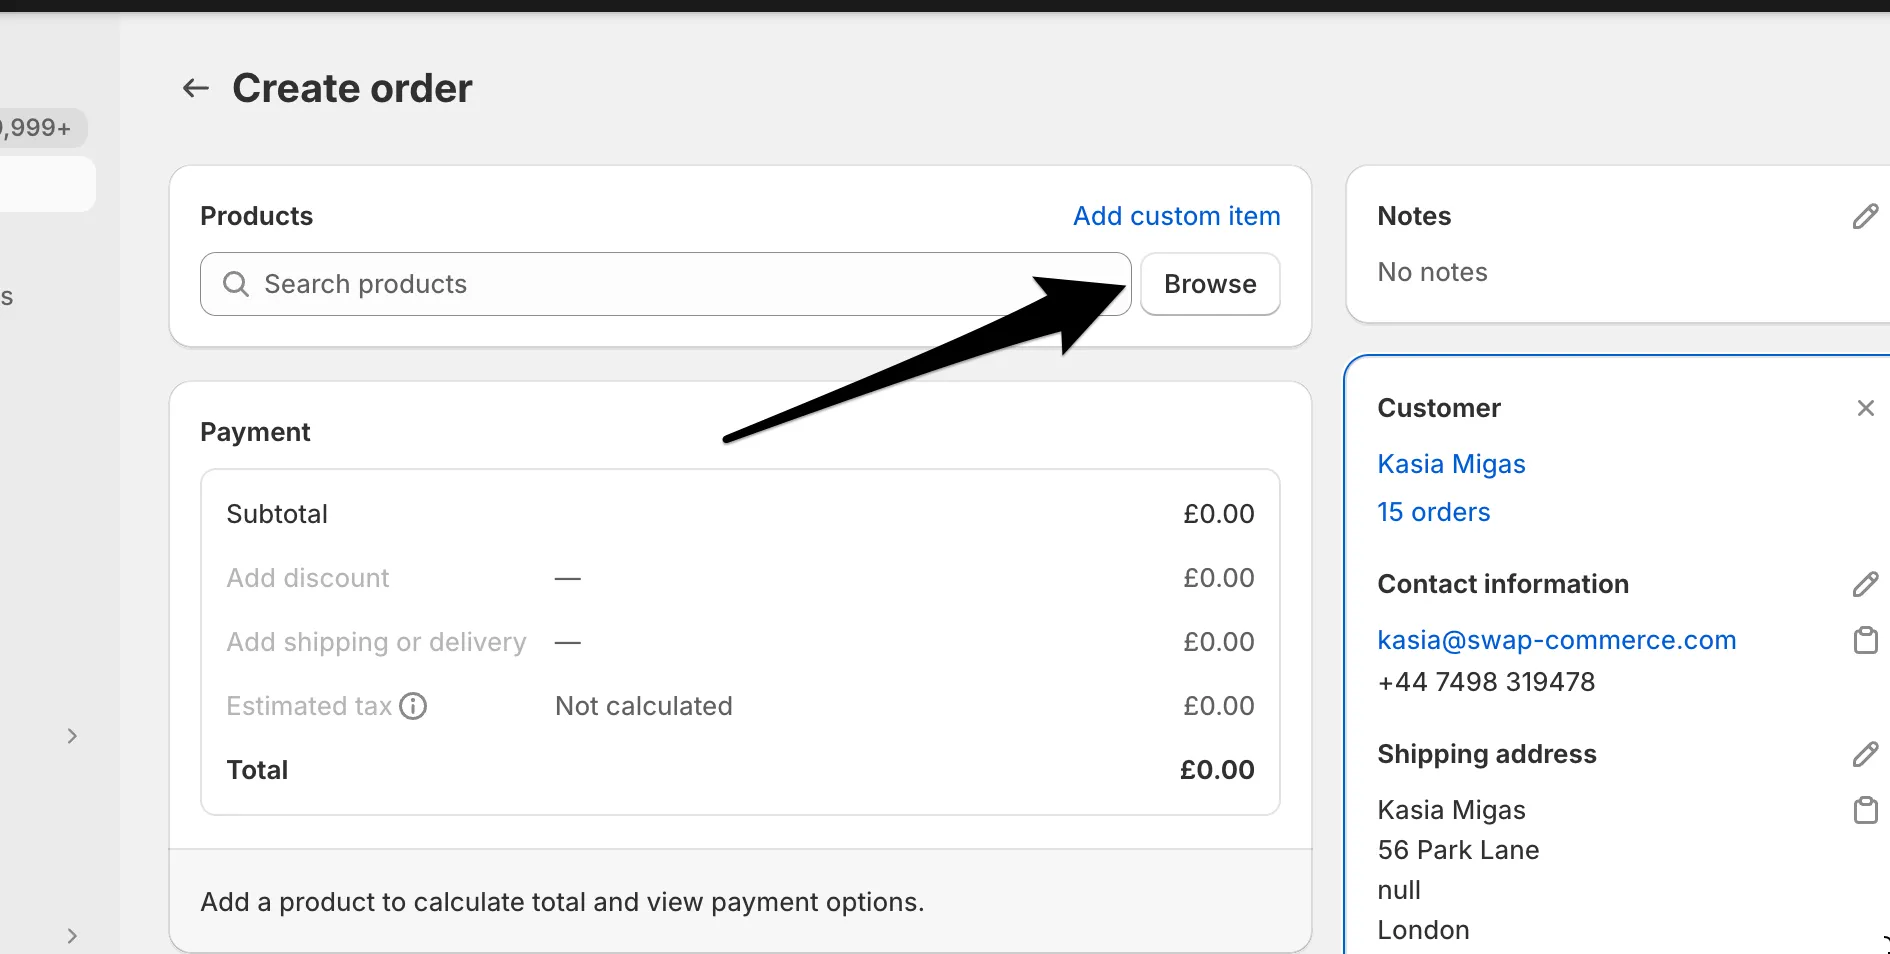
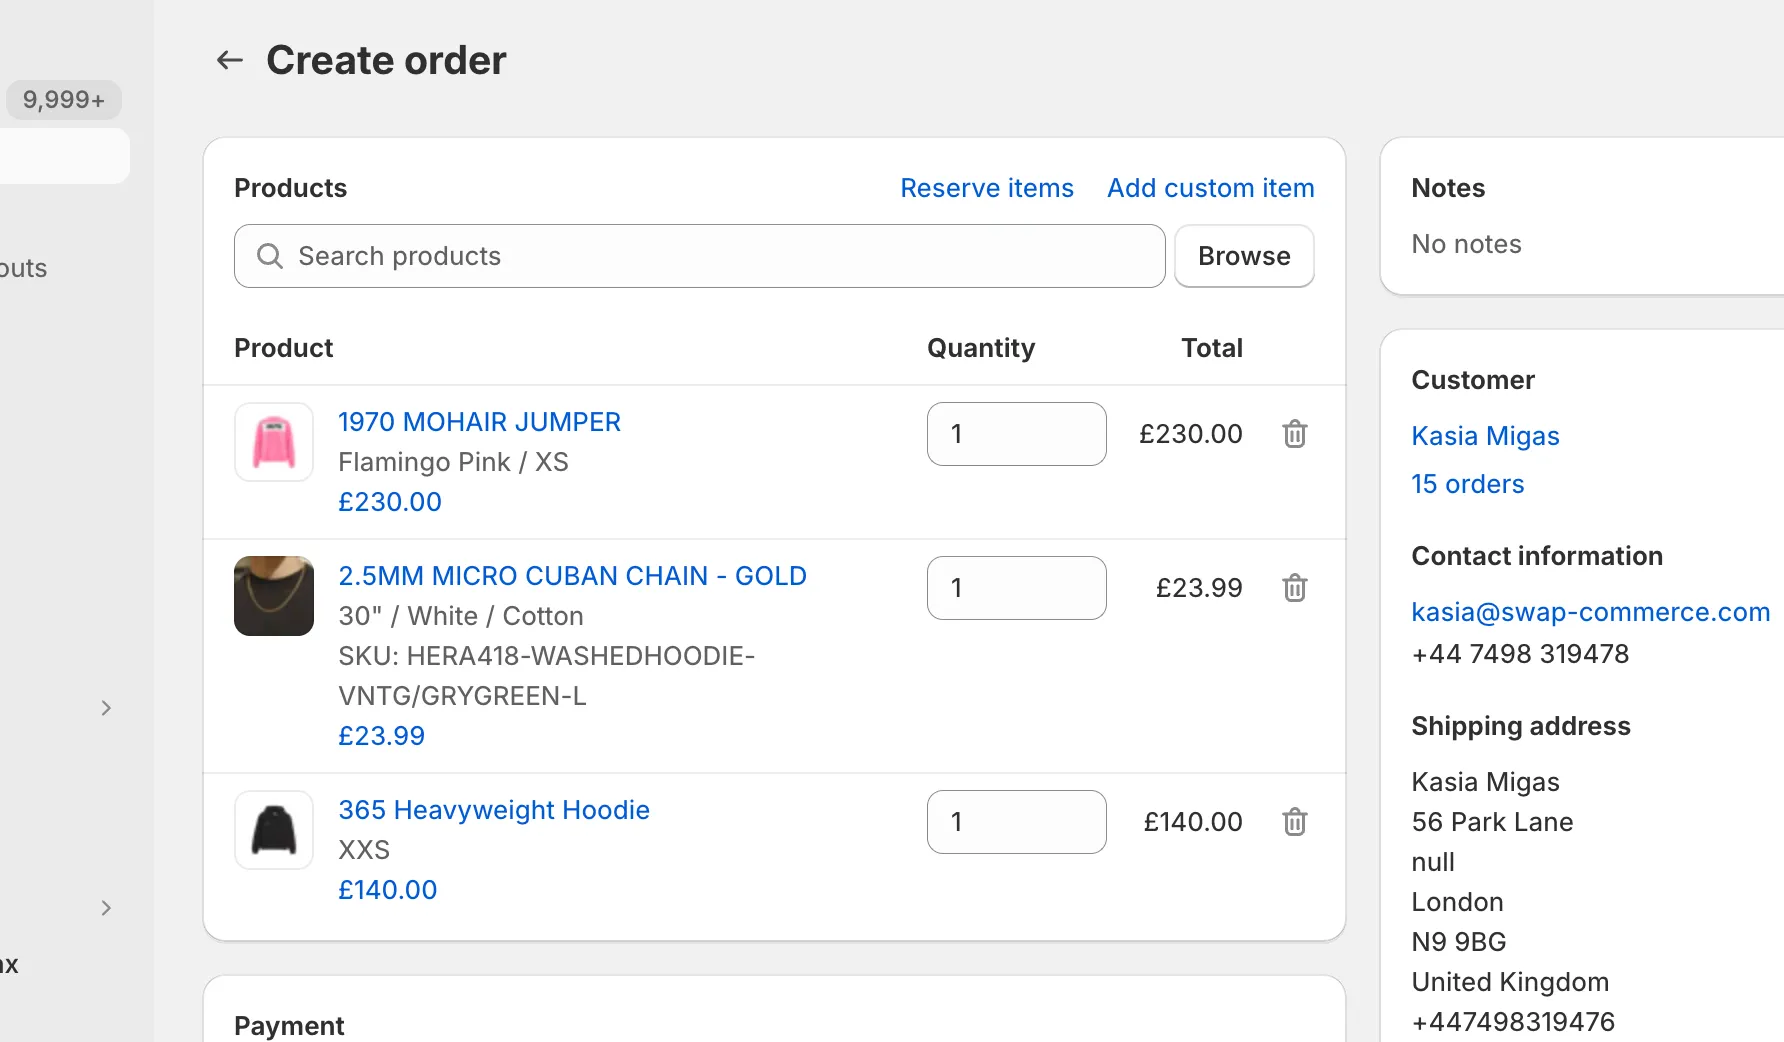
- Browse products. We need three products if you’re testing refunds, store credit, and exchanges. Pick three items and add them to the basket.
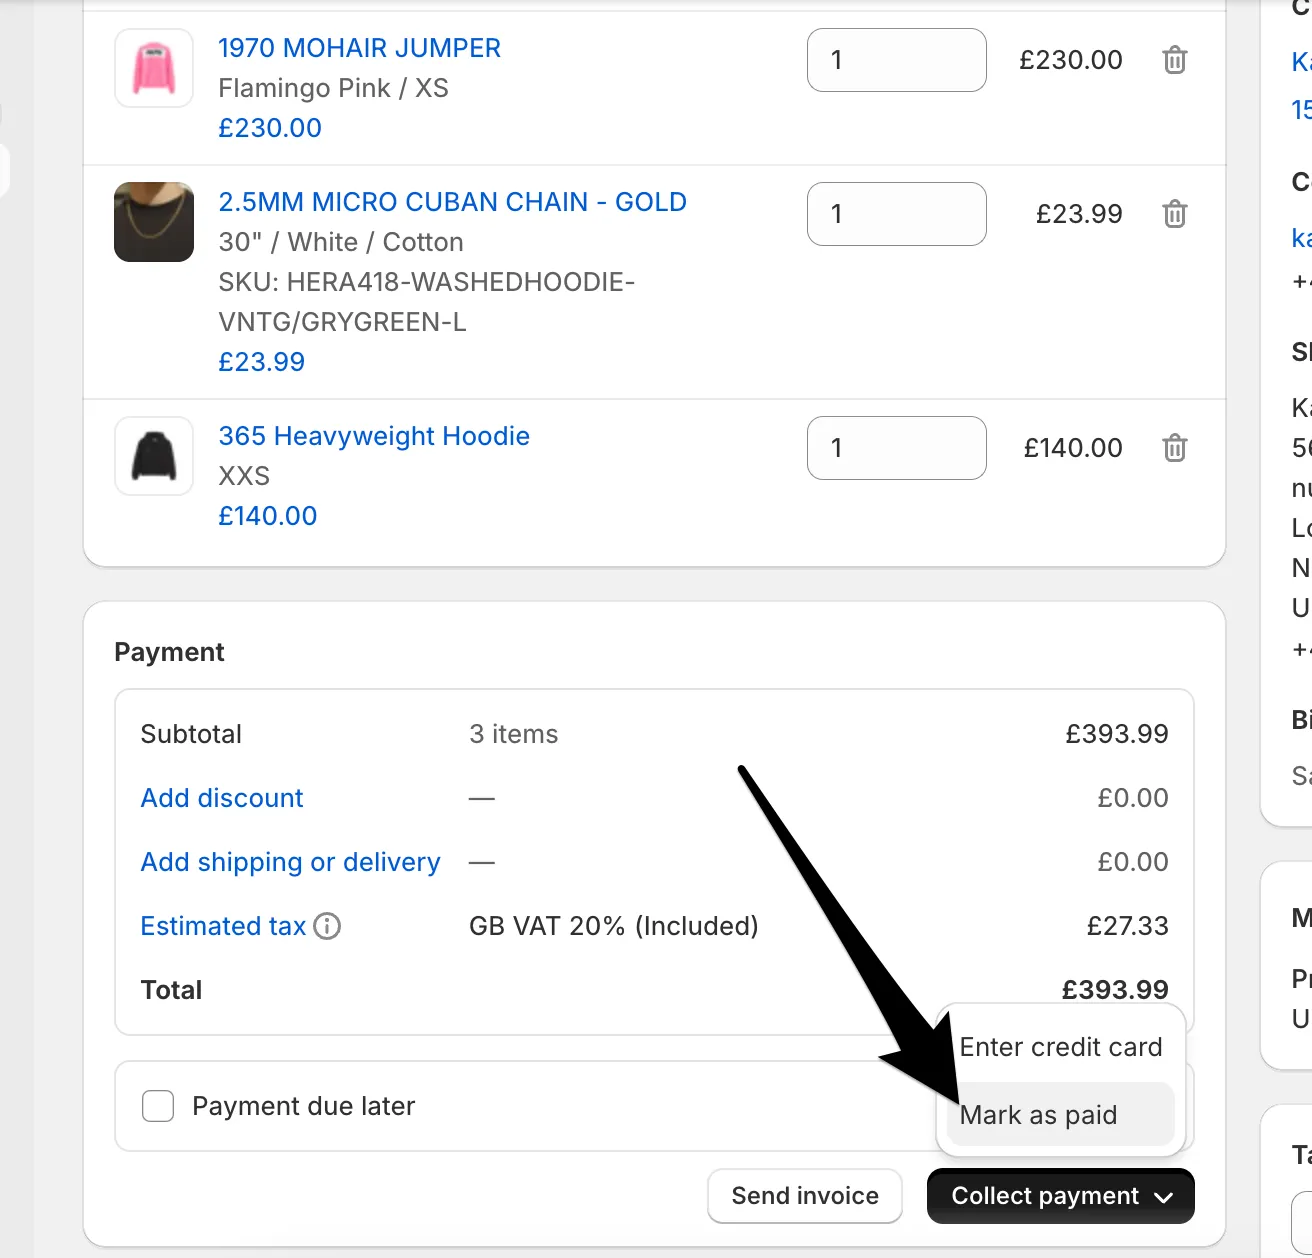
- Click ‘Collect payment’ and mark it as paid.
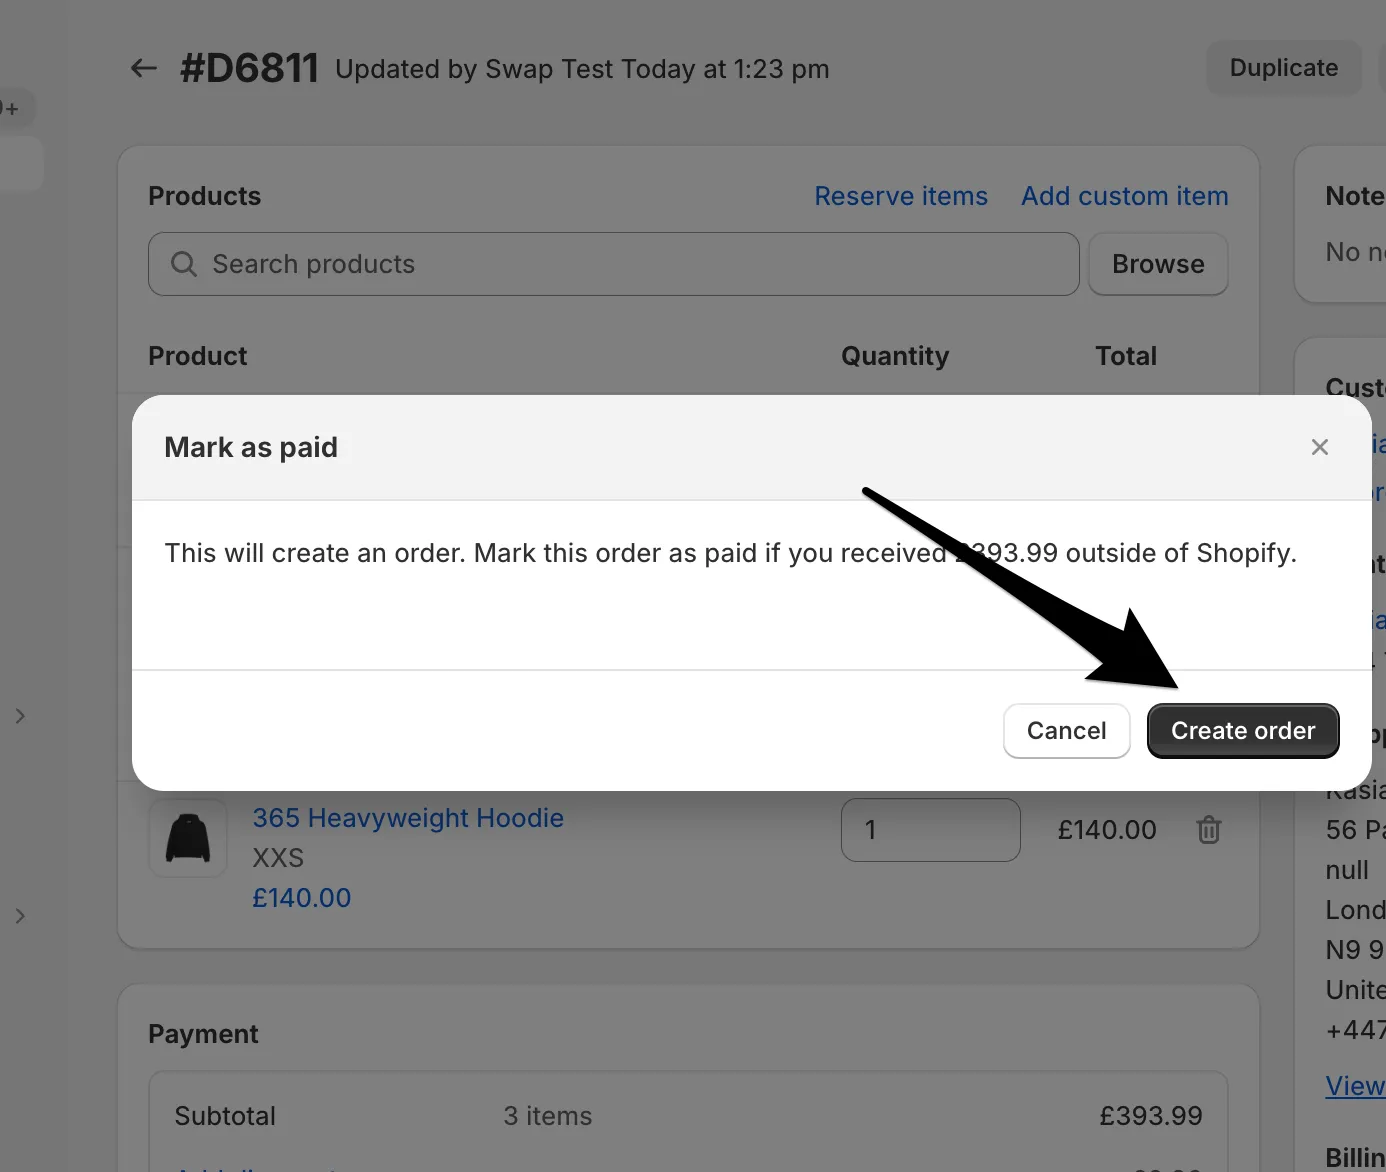
- Click ‘Create order’.
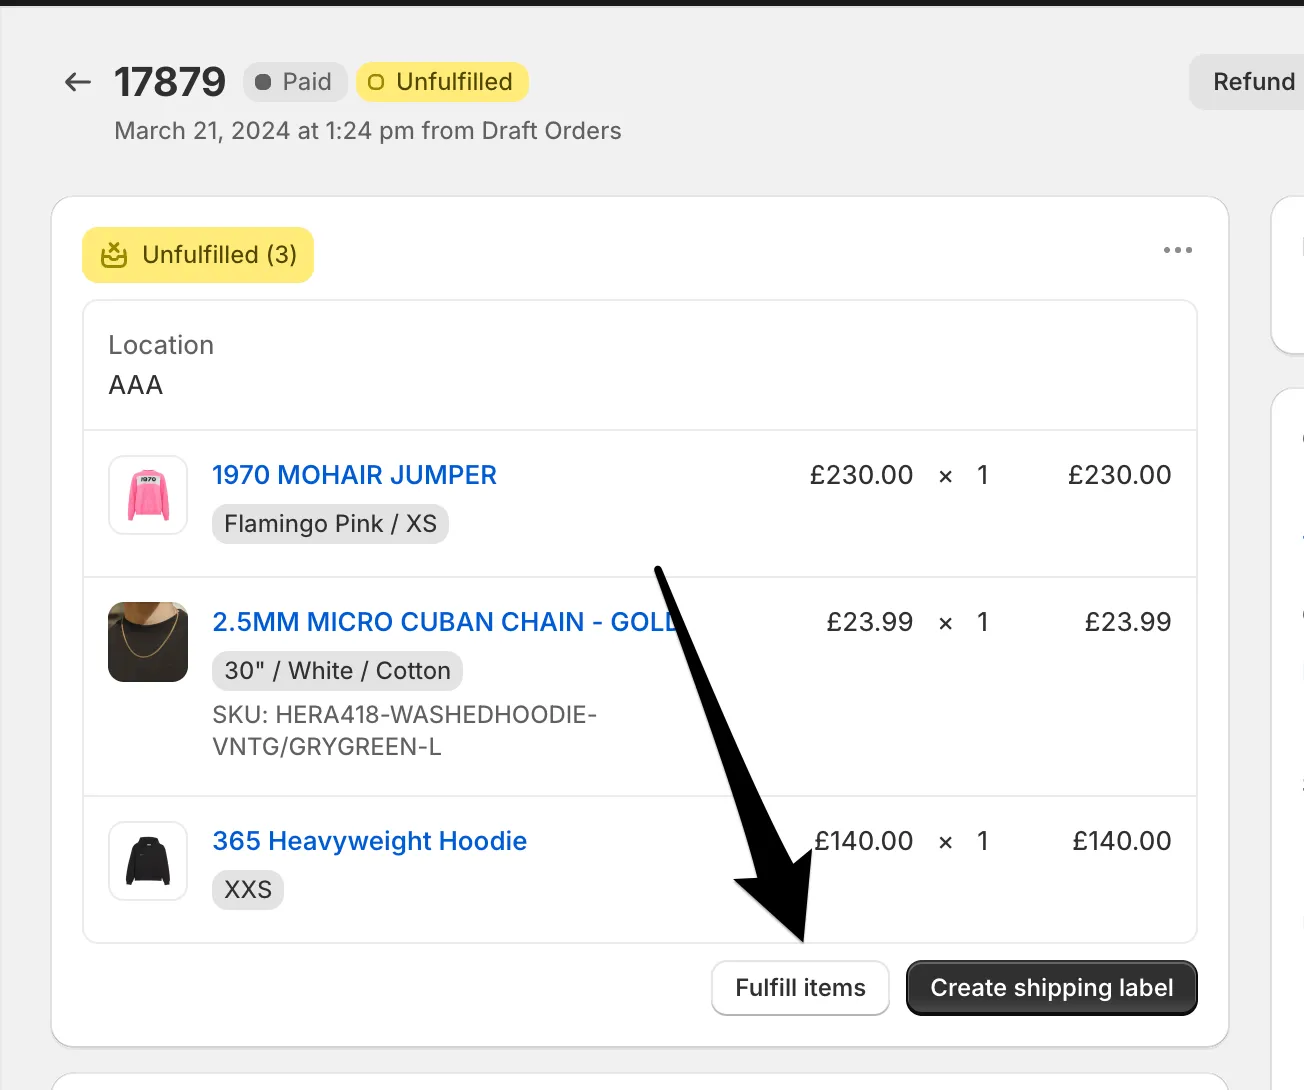
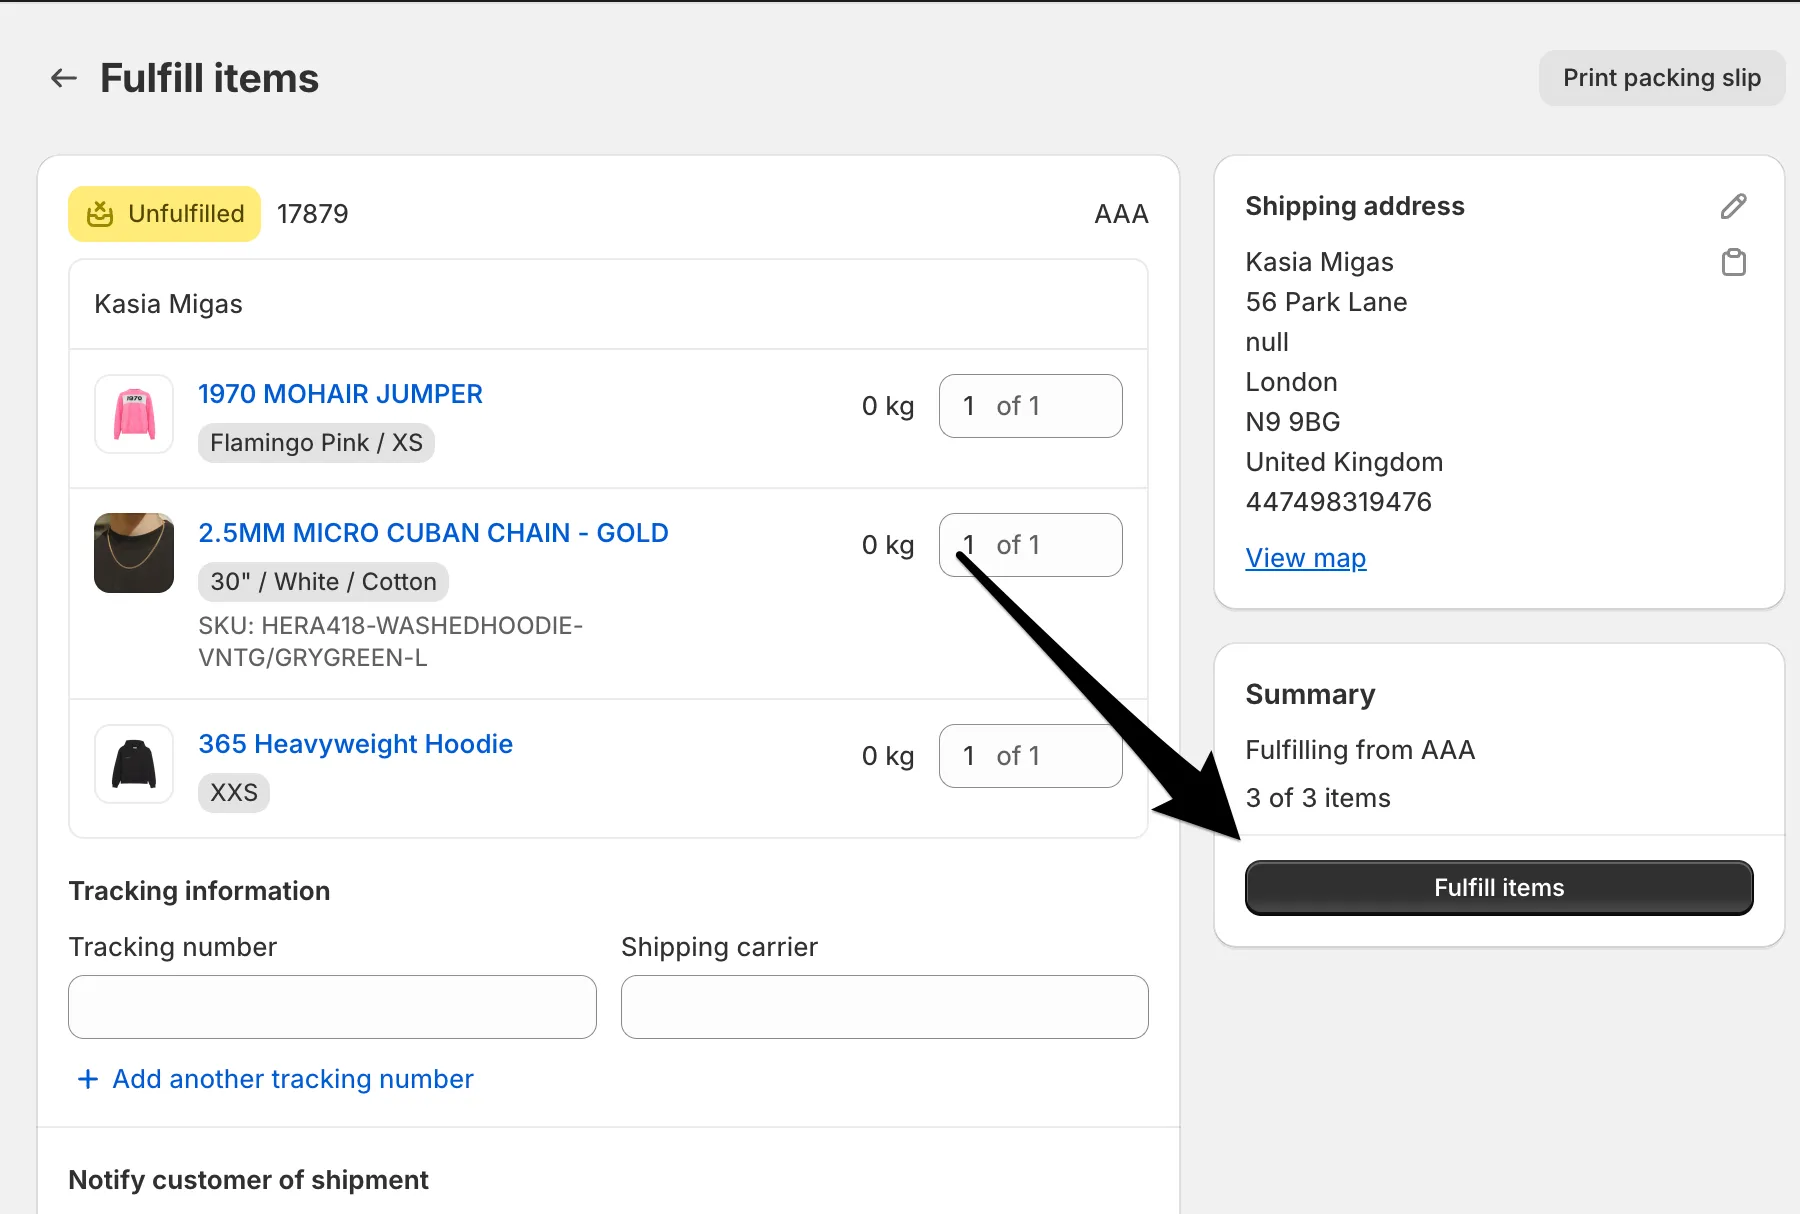
- Click fulfill items twice.
- Make a note of the order number and email associated with this order.
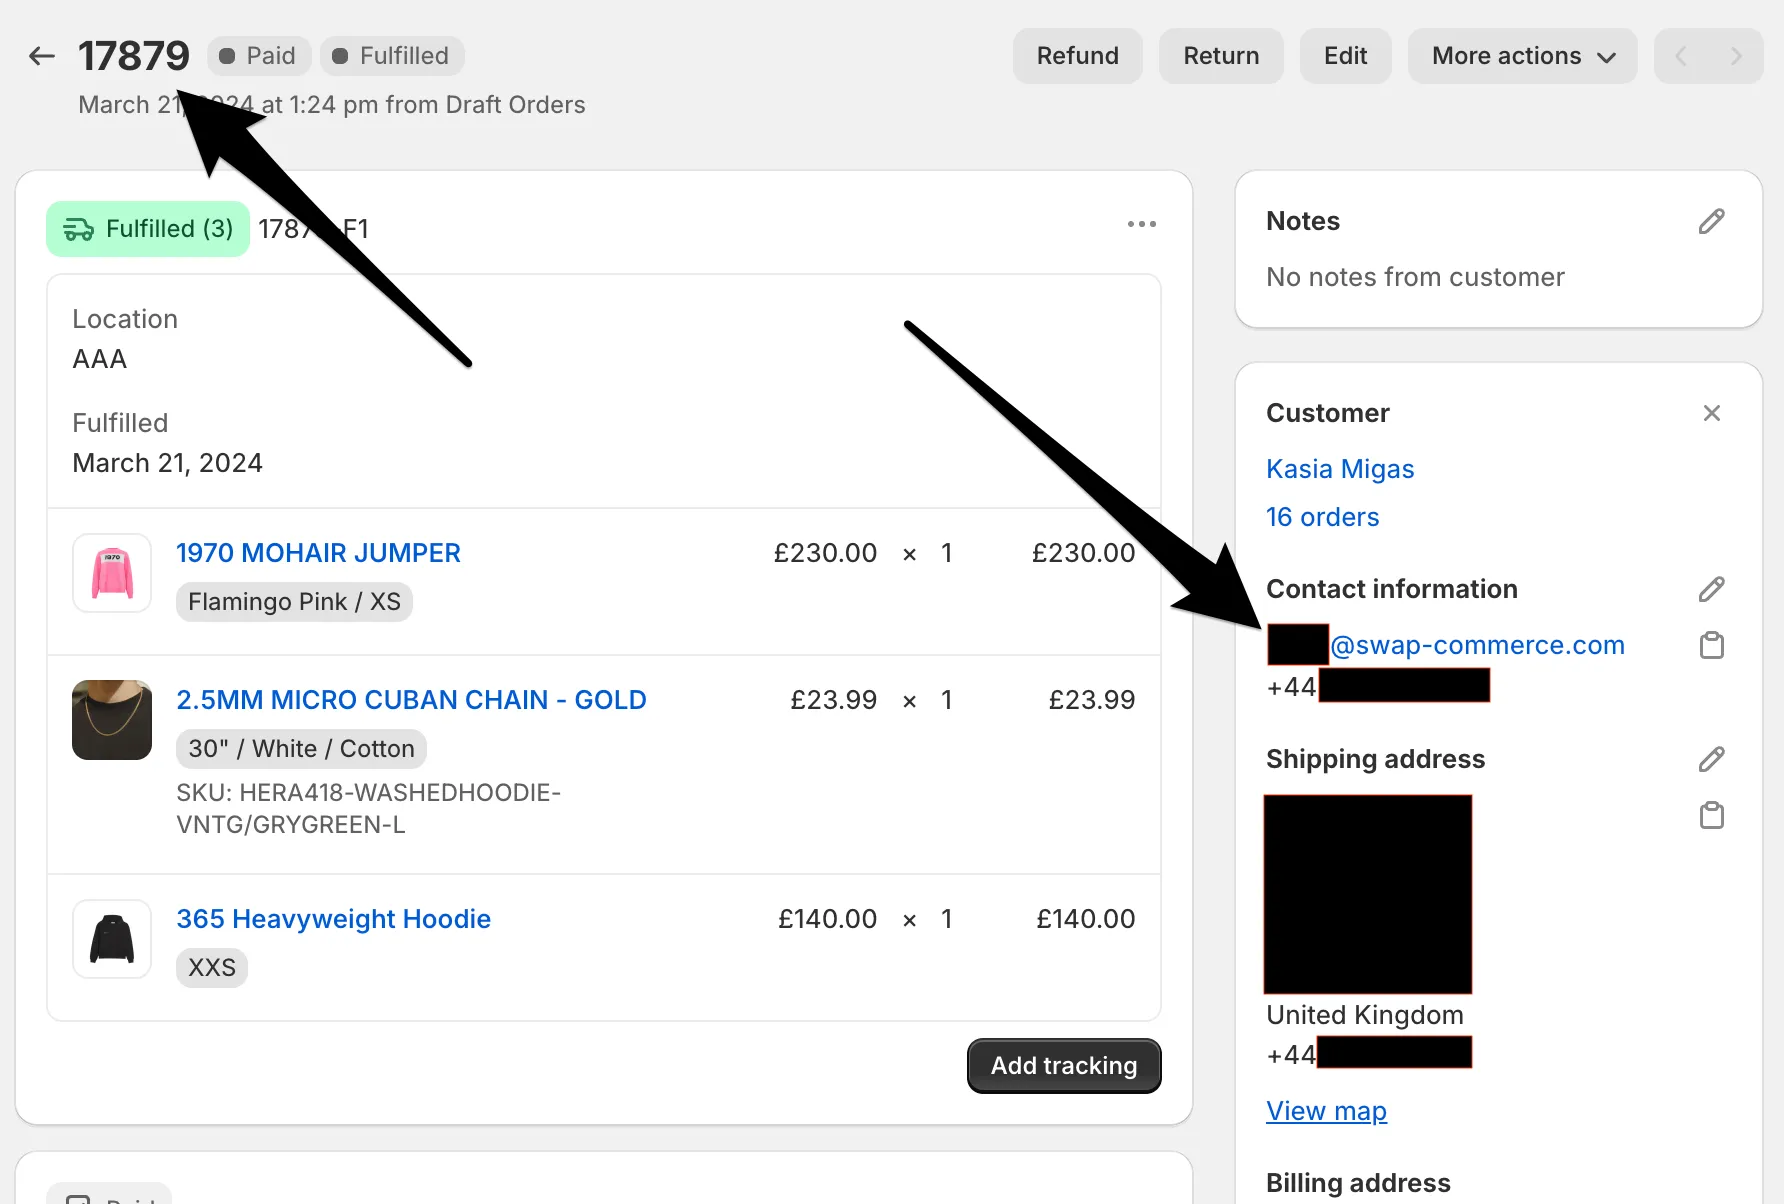
Once the order is marked as paid and fulfilled, it can be used to test Swap Returns via the Returns Portal.